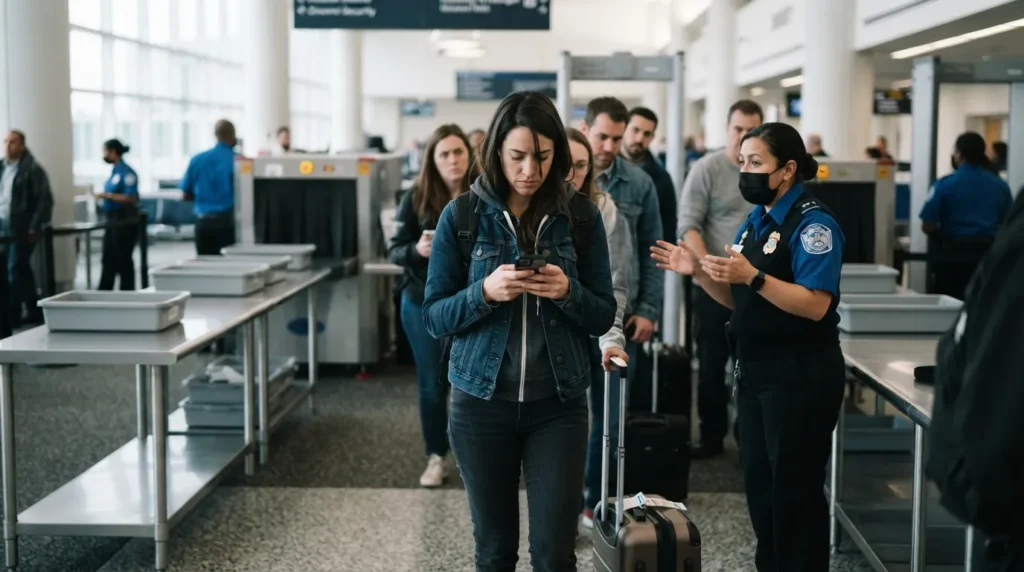

Behind most checkpoint slowdowns are tiny, ordinary habits that stall the belt, and you have probably watched at least one of them play out from the back of the line.
A few of these are obvious, a few are sneaky, and the one waiting at #1 is easy to miss until you start watching for it.
#21 – Leaving Your Phone Loose in the Bin With Your Shoes
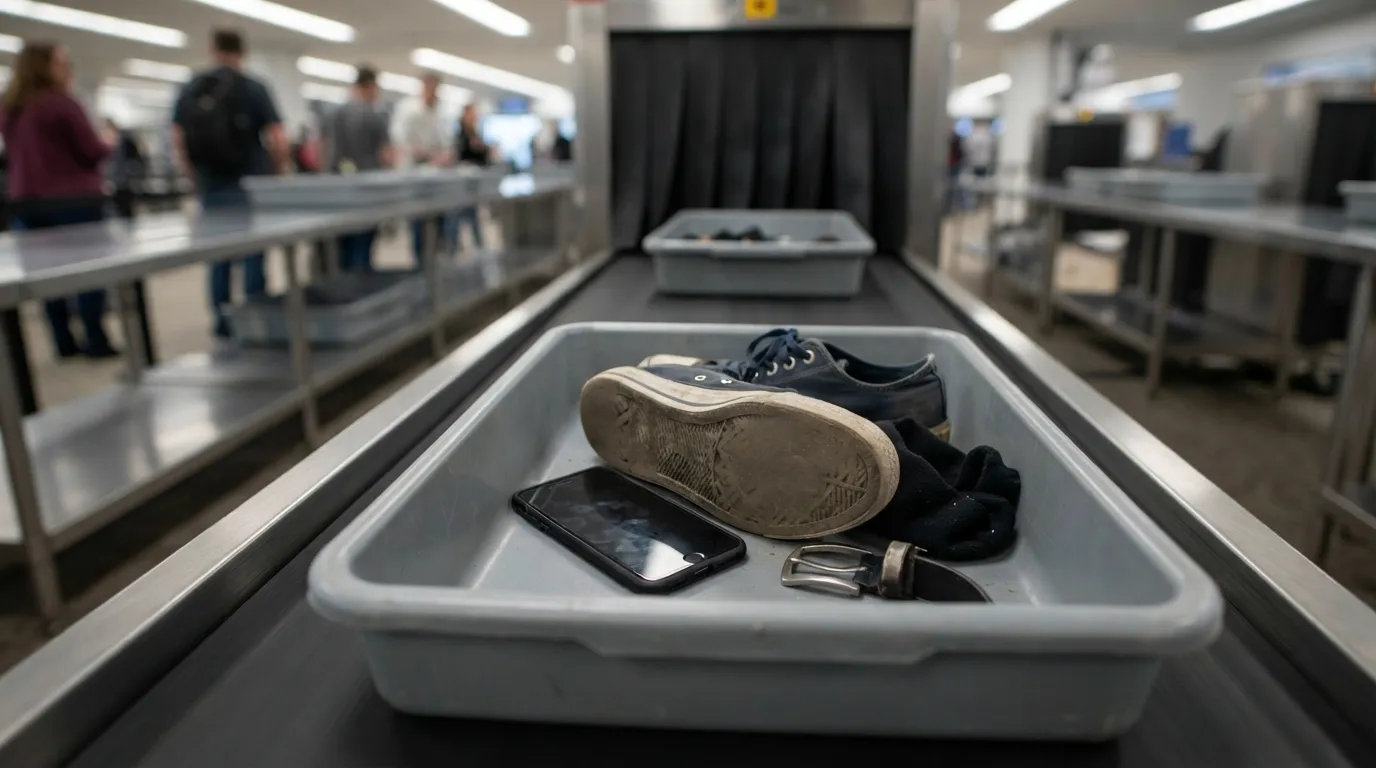
A phone dropped into the same bin as your shoes can slide out, get buried, or get left behind. When bins get sorted or a missing device gets hunted down, the belt behind you slows.
The fix is simple: tuck your phone into your carry-on before you reach the X-ray belt. Empty your pockets into the bag while you wait, and your tray stays shoes and nothing else.
#20 – Pulling Off Shoes in Thin Socks That Slip Around
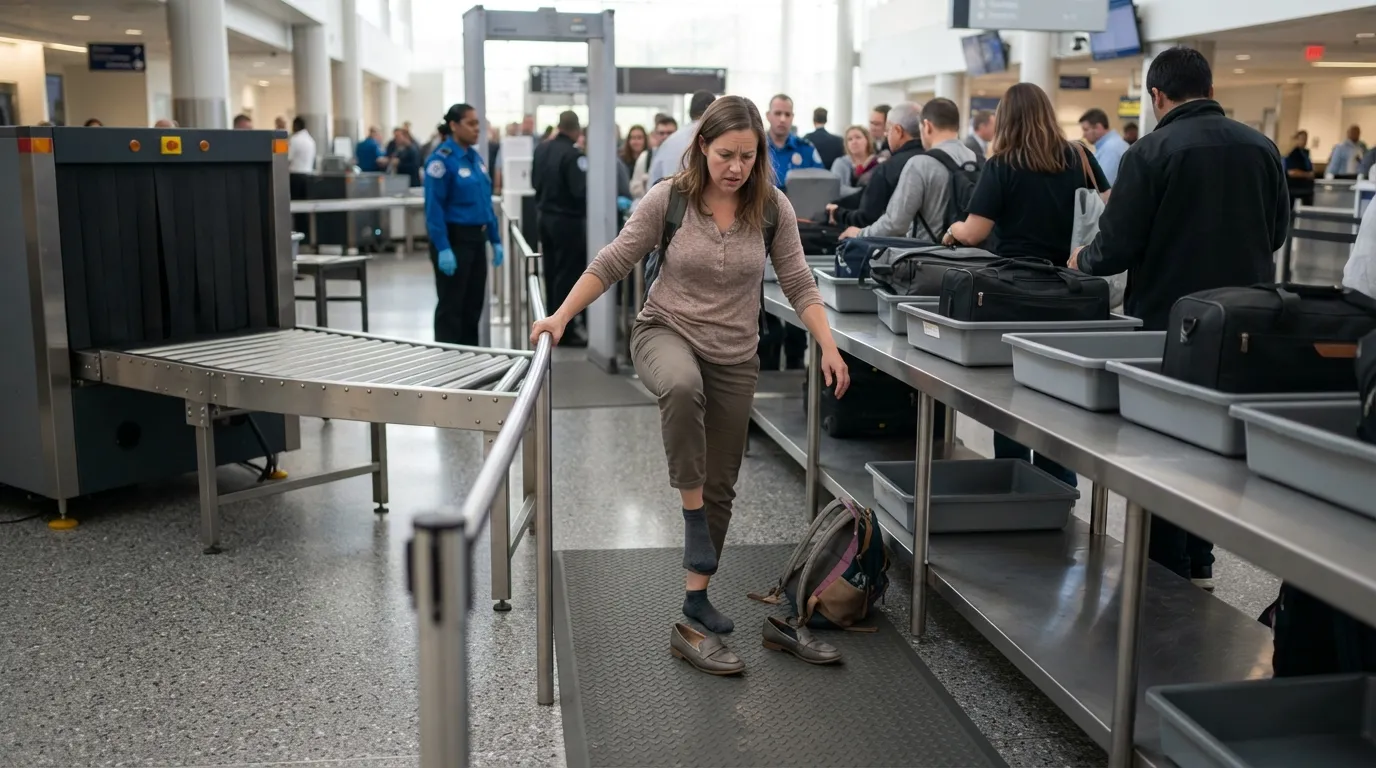
At standard checkpoints, shoes come off, and slippery socks turn the exit of the scanner into a hopping routine. Someone balancing on one foot at the end of the belt is blocking space everyone else needs.
Wear socks with some grip, or choose slip-on shoes that go on and off in a second. Better yet, step aside, away from the belt, before you put your shoes back on.
#19 – Walking Up With Pockets Still Full of Keys, Coins, and a Wallet
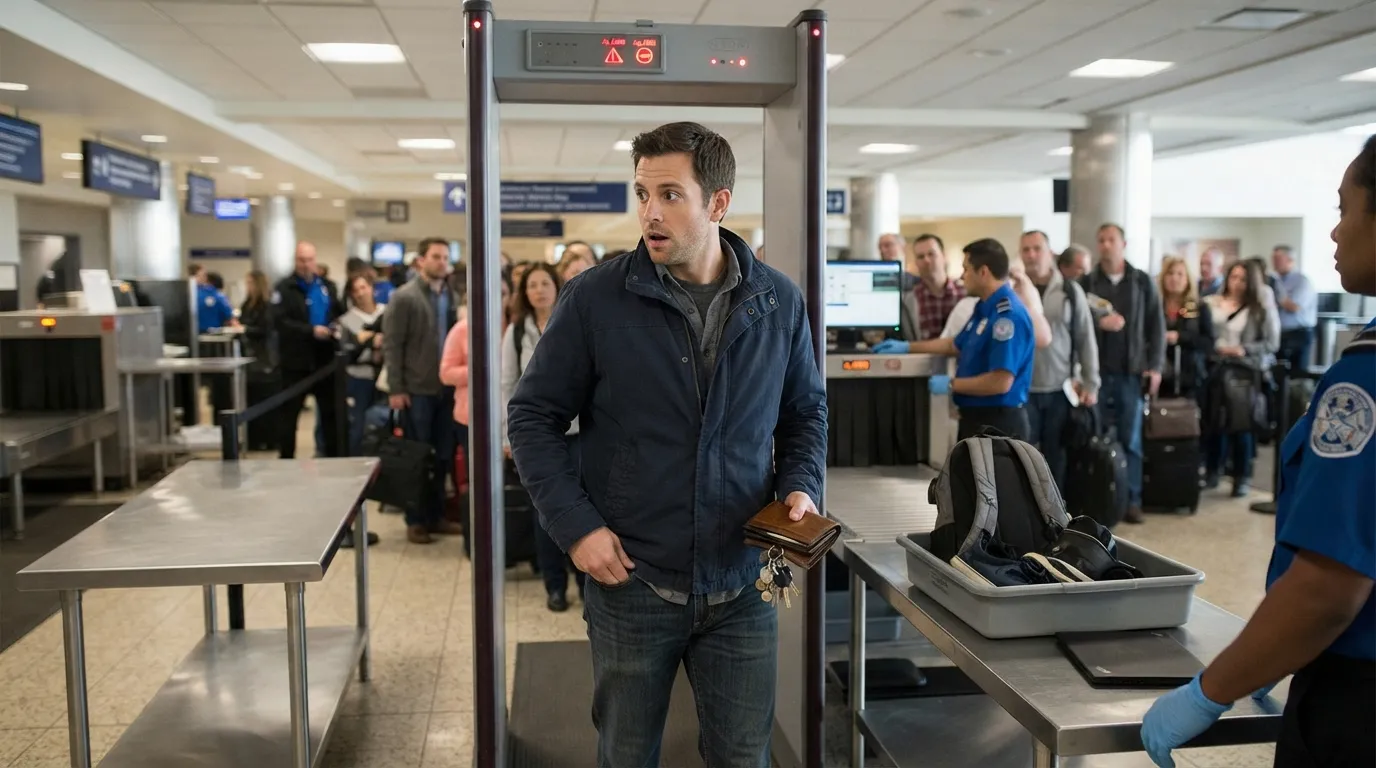
Keys, coins, and a bulging wallet in your pockets can set off the scanner. Then comes a second pass, maybe a pat-down, while a line of people stands waiting behind you.
TSA advises emptying your pockets into your carry-on before you get to the belt. Do it while you are still in line, and your trip through the scanner takes one pass instead of two.
#18 – Showing Up With a Full Coffee or Water Bottle
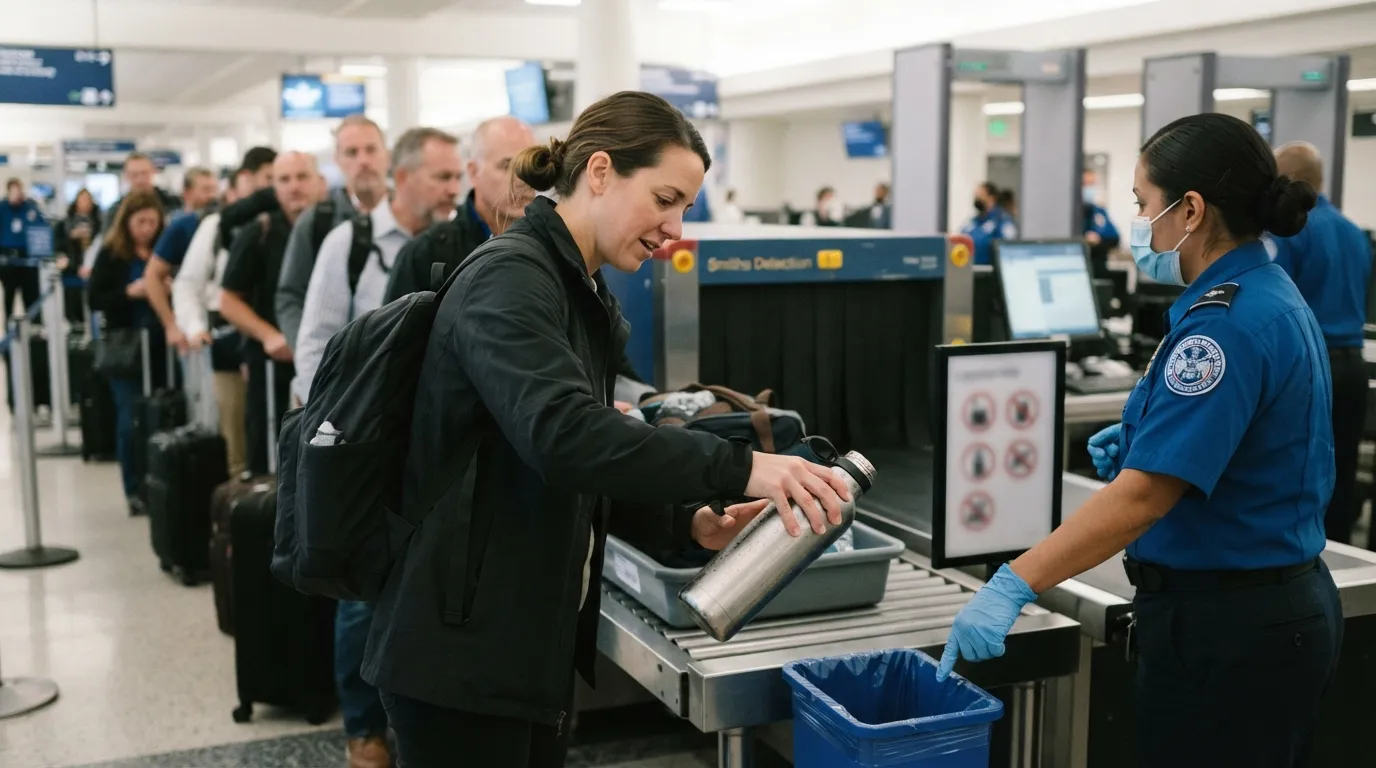
Anything liquid over 3.4 ounces has to go, so a full coffee or water bottle forces a decision right at the front of the line. Chug it, dump it, or toss it, but the line waits while you choose.
Finish your drink or empty the bottle before you enter the checkpoint. An empty reusable bottle can go through, and you can fill it at a fountain or refill station once you are past security.
#17 – Leaving Laptops and Tablets Inside the Carry-On
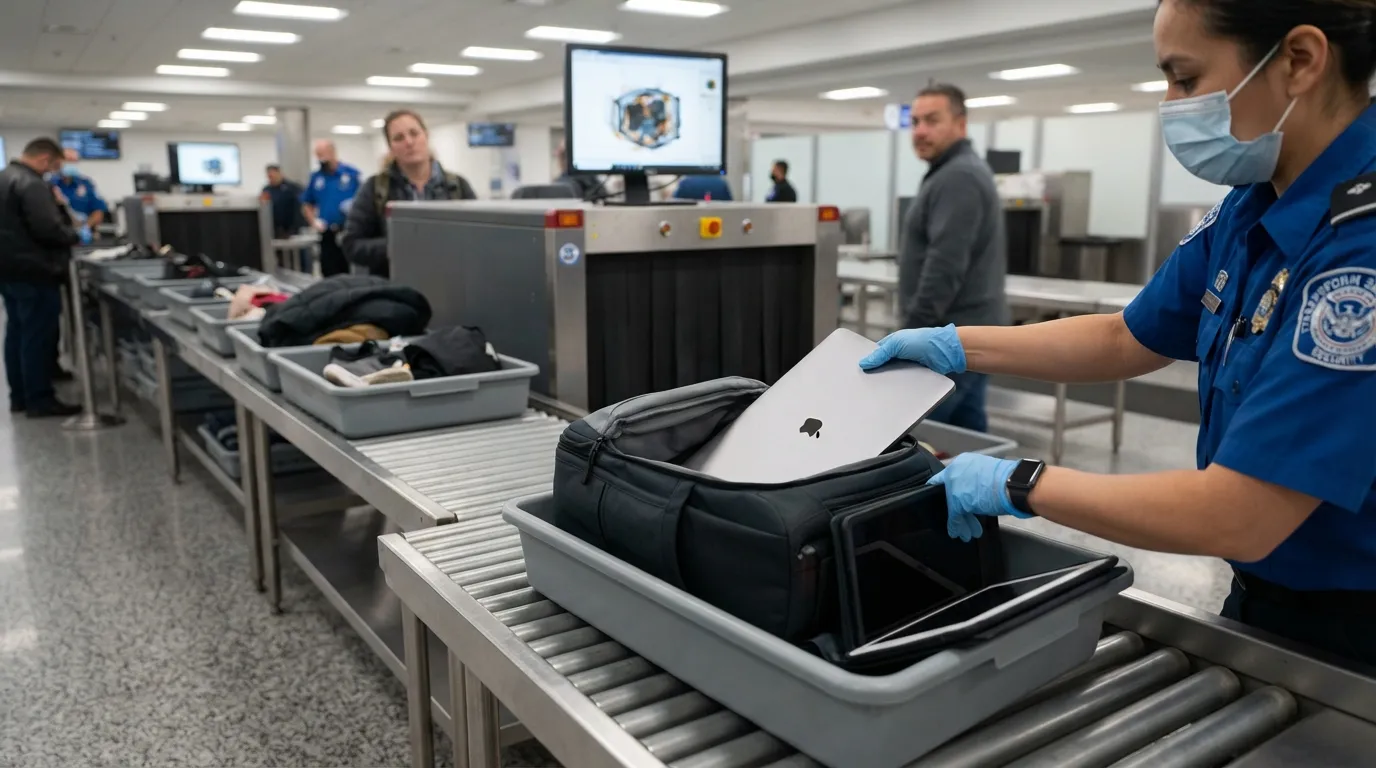
At standard lanes, a laptop buried in a bag blocks a clear X-ray picture. The bag gets pulled aside, the device is taken out, and the whole thing runs through again while the belt waits.
Take out laptops, tablets, and other electronics larger than a phone, and give them their own bin. Some airports have newer CT scanners that change this rule, so follow the signs and the officer’s directions.
#16 – Packing Full-Size Toiletries Without Checking the 3-1-1 Rule
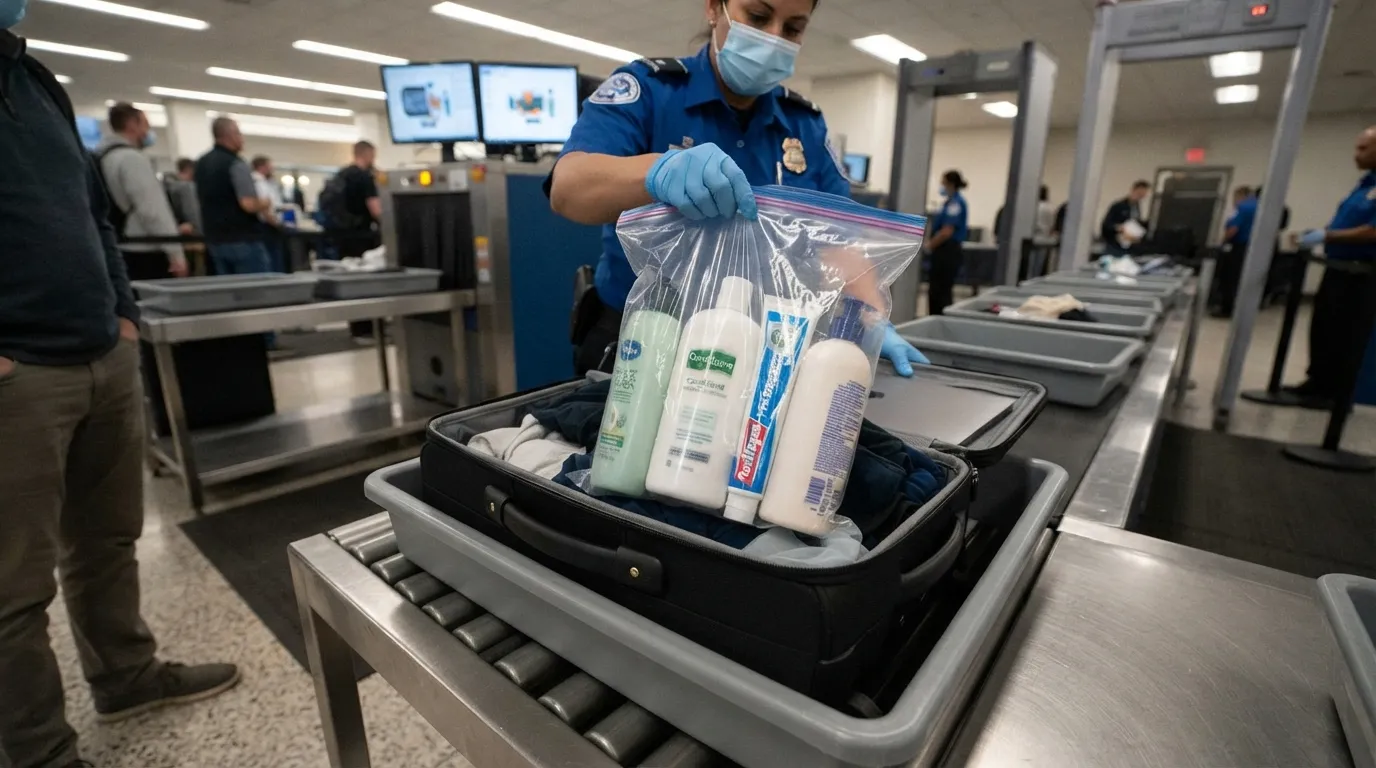
Full-size shampoo, lotion, or toothpaste in a carry-on gets flagged at the X-ray. An officer then has to stop, open the bag, and wait while you decide what to toss.
Under the 3-1-1 rule, liquids, gels, and aerosols go in containers of 3.4 ounces or less. All of them fit in one quart-sized clear bag, with one bag per traveler. Check your toiletry kit before you leave home.
Fast Facts
- 3: containers can be no larger than 3.4 ounces each.
- 1: clear, quart-sized bag holds all of them.
- 1: bag per traveler.
- Size is based on the container, so a half-empty large bottle still counts as large.
#15 – Burying the Clear Liquids Bag Under Everything Else
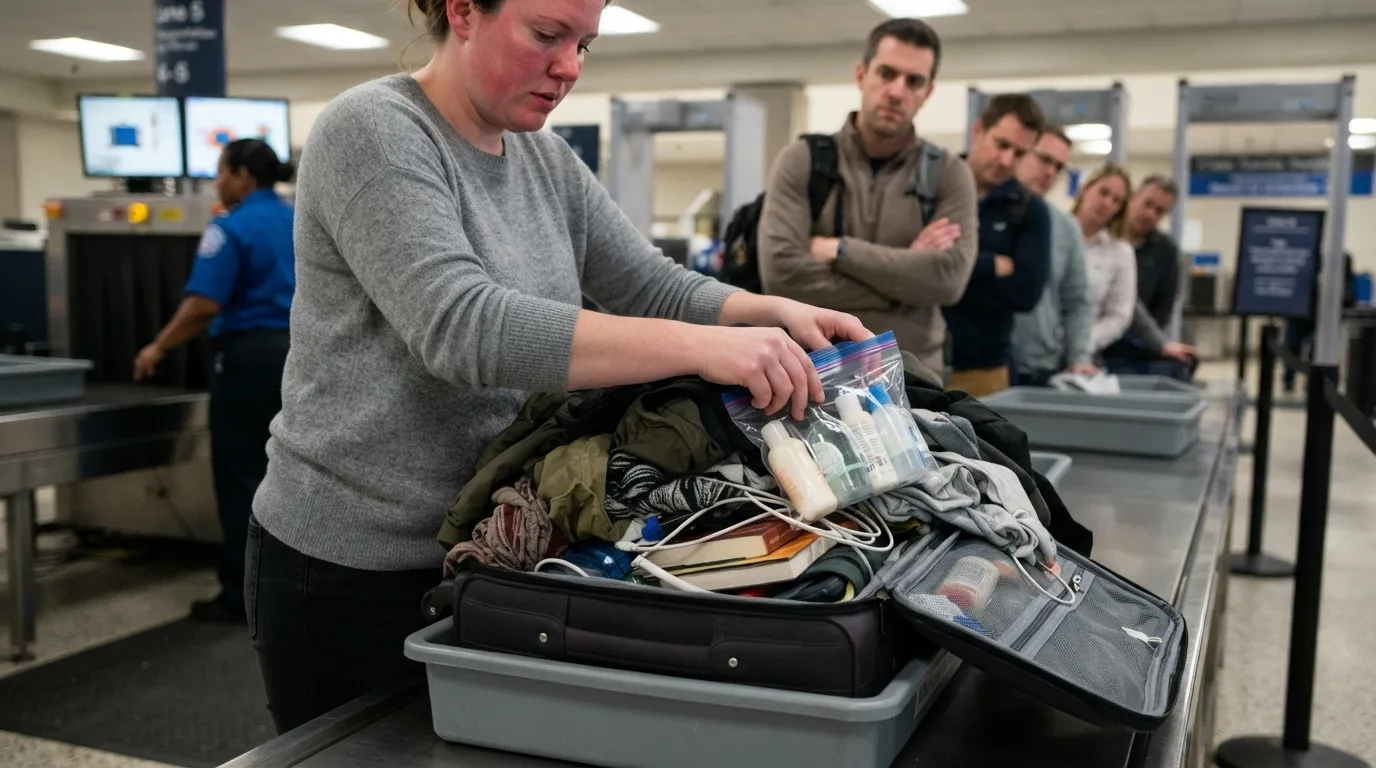
Even when every bottle follows the rules, a liquids bag stuffed at the bottom of the carry-on causes its own delay. The passenger starts unpacking at the belt while the line watches.
Keep the bag on top or in an outer pocket so you can grab it in one move. Many standard checkpoints still ask for it to come out, though PreCheck lanes generally let it stay in your bag.
#14 – Staying Put When an Officer Points You to a Different Lane
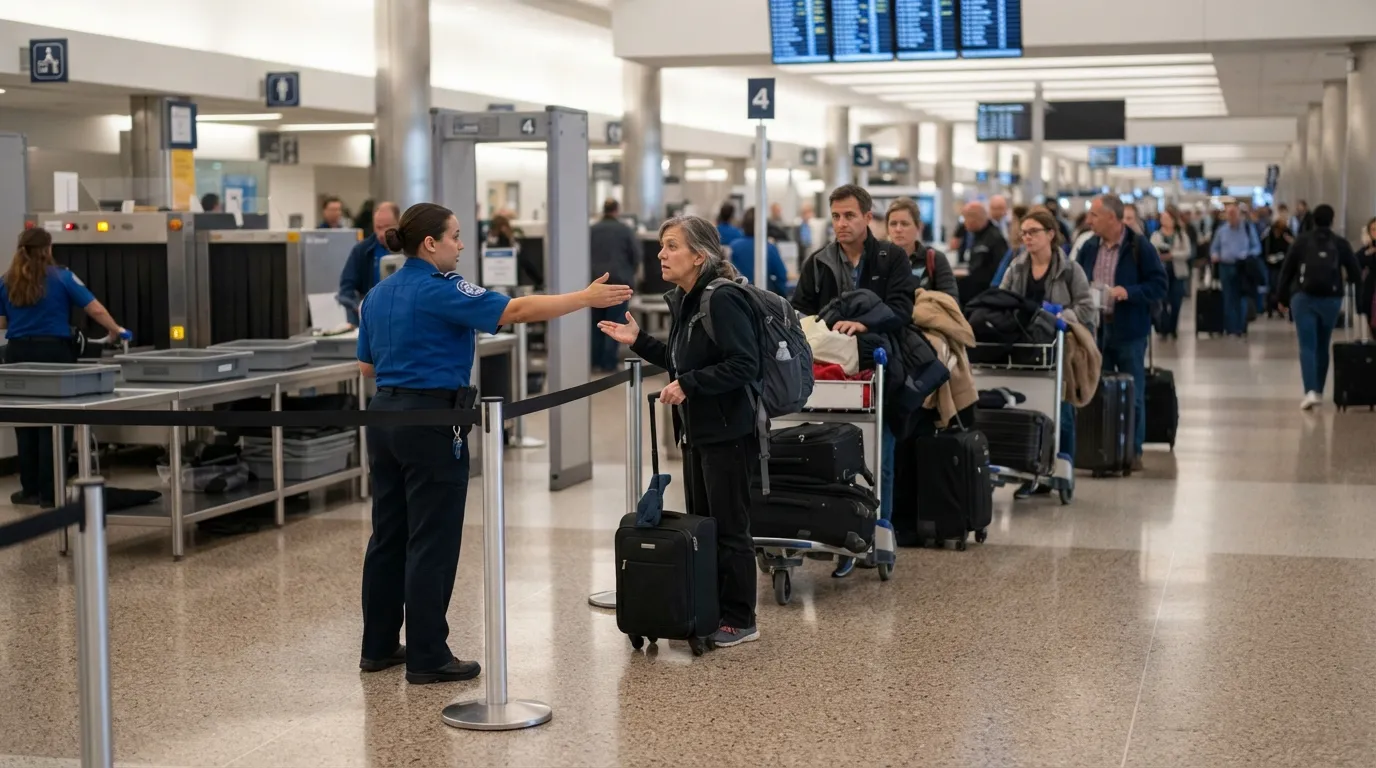
Officers sometimes send travelers to another lane to balance how many people each lane handles. When someone stays put or stops to debate it, the line behind them stalls while officers sort out the confusion.
Just move when you are directed. A quick shuffle to the next lane usually costs less time than a discussion at the front, and it keeps the overall flow steady.
#13 – Keeping a Heavy Belt or Bulky Jacket On Until the Last Second
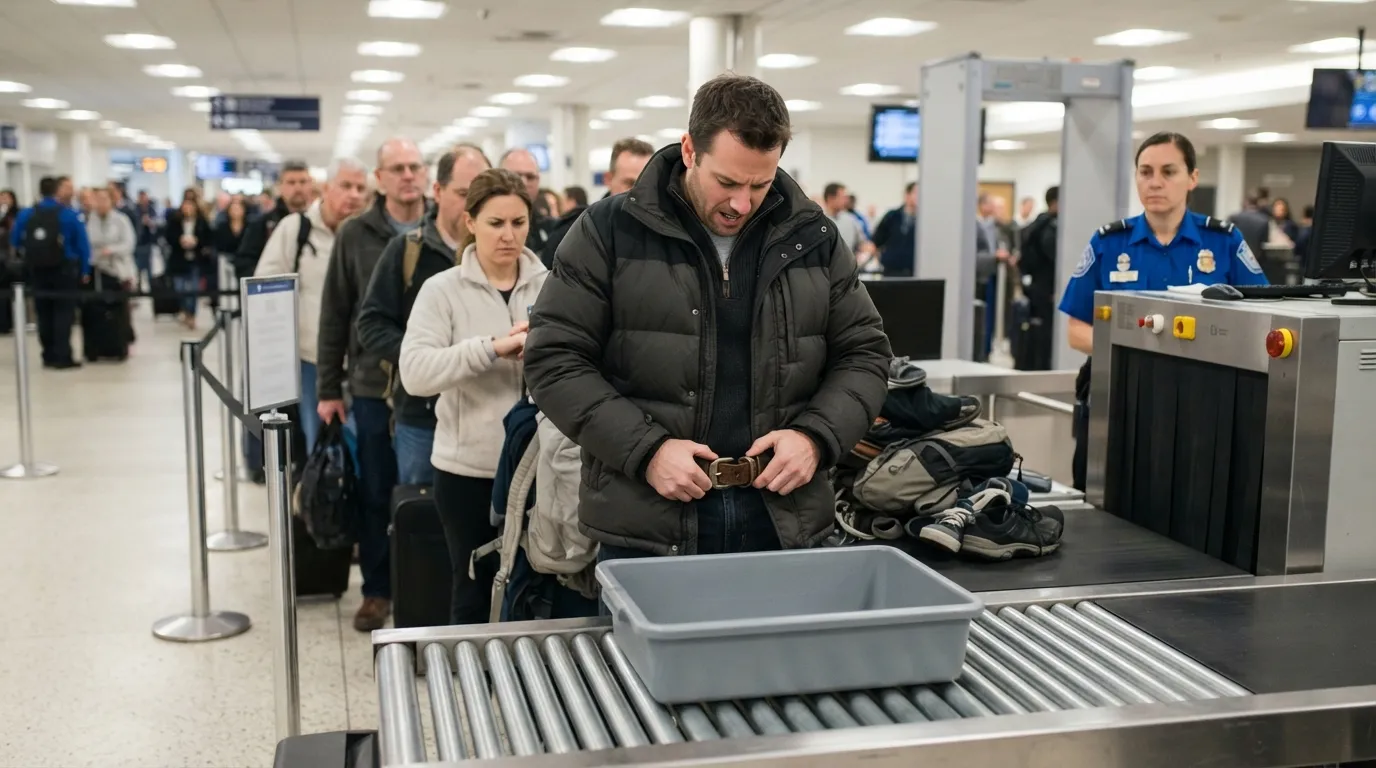
In standard lanes, belts, bulky jackets, and layered outerwear usually have to come off before the scanner. Doing it at the front of the belt means unbuckling, unzipping, and juggling while the line waits.
Take off your jacket and belt while you are waiting, and place them in a bin or your bag as you reach the belt. PreCheck lanes often let you keep a belt and light jacket on, so dress for the lane you are in.
#12 – Digging for ID and Boarding Pass at the Document Check
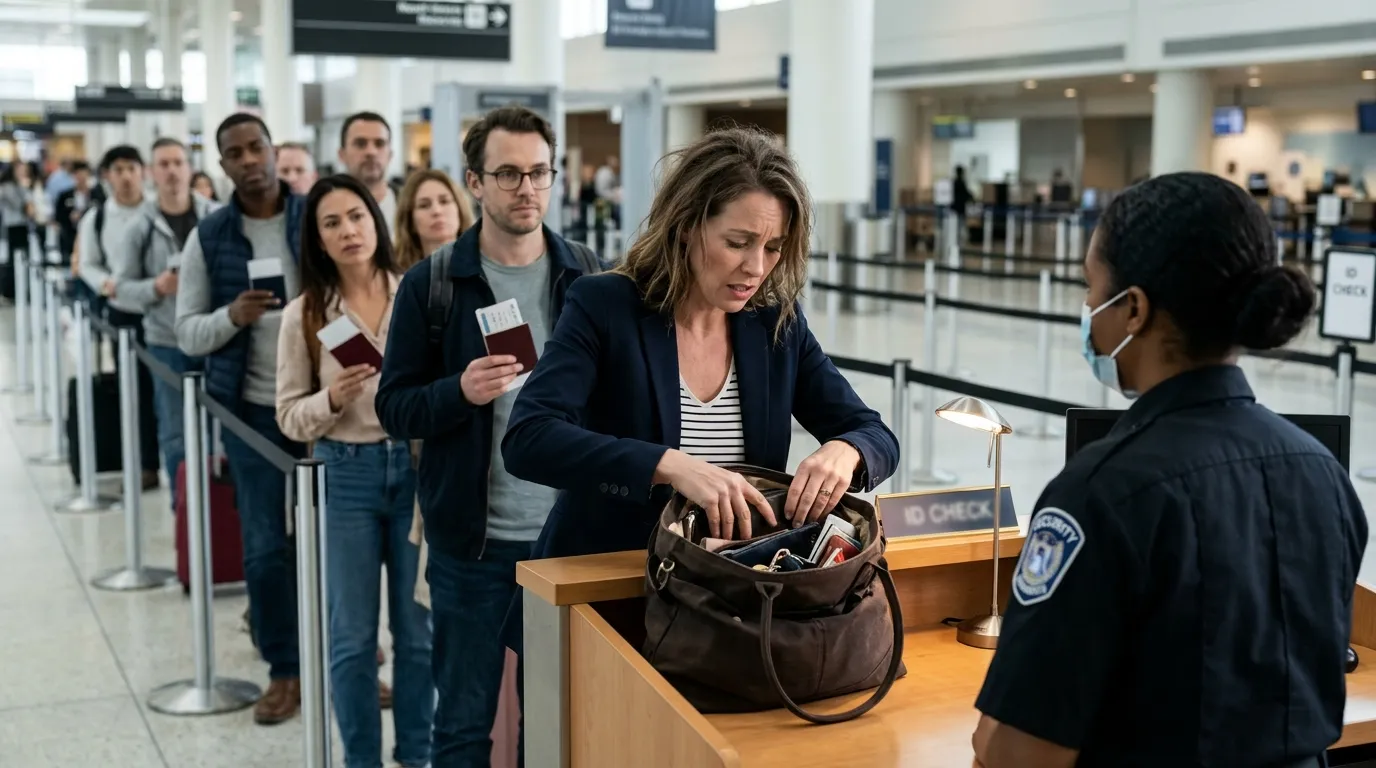
The document check is the first stop, and a traveler patting down every pocket for an ID freezes it. Everyone behind them can only watch the search.
Have your ID and boarding pass (or digital pass) in hand before you reach the officer. The night before, check that the name on your boarding pass matches the name on your ID, so a mismatch does not surprise you at the podium.
Worth Knowing
- Keep your ID in the same pocket or sleeve every time, so your hand finds it without looking.
- If you use a digital boarding pass, open it before you reach the front.
- Screenshot or print a backup in case your signal or battery fails.
- Take off any bulky phone wallet or case that makes the ID hard to pull out.
#11 – Carrying Gifts That Are Already Wrapped
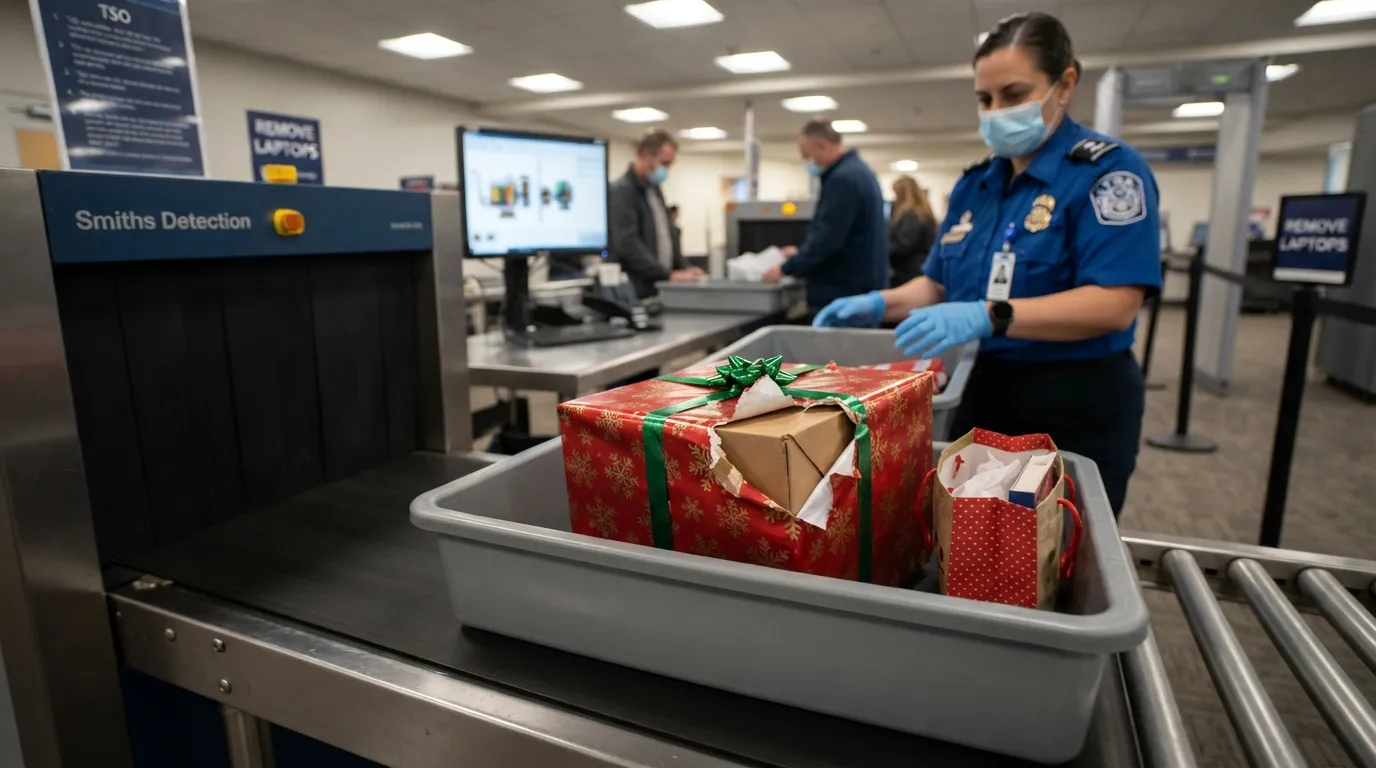
Beautifully wrapped presents look great, but TSA may need to open them if the X-ray cannot clear what is inside. That means tearing paper at the checkpoint while the line waits.
Wrap gifts after you land, put them in checked luggage, or use a gift bag so the contents can be inspected easily. It protects your wrapping job and everyone’s patience.
#10 – Packing on Top of Whatever Is Already in the Bag
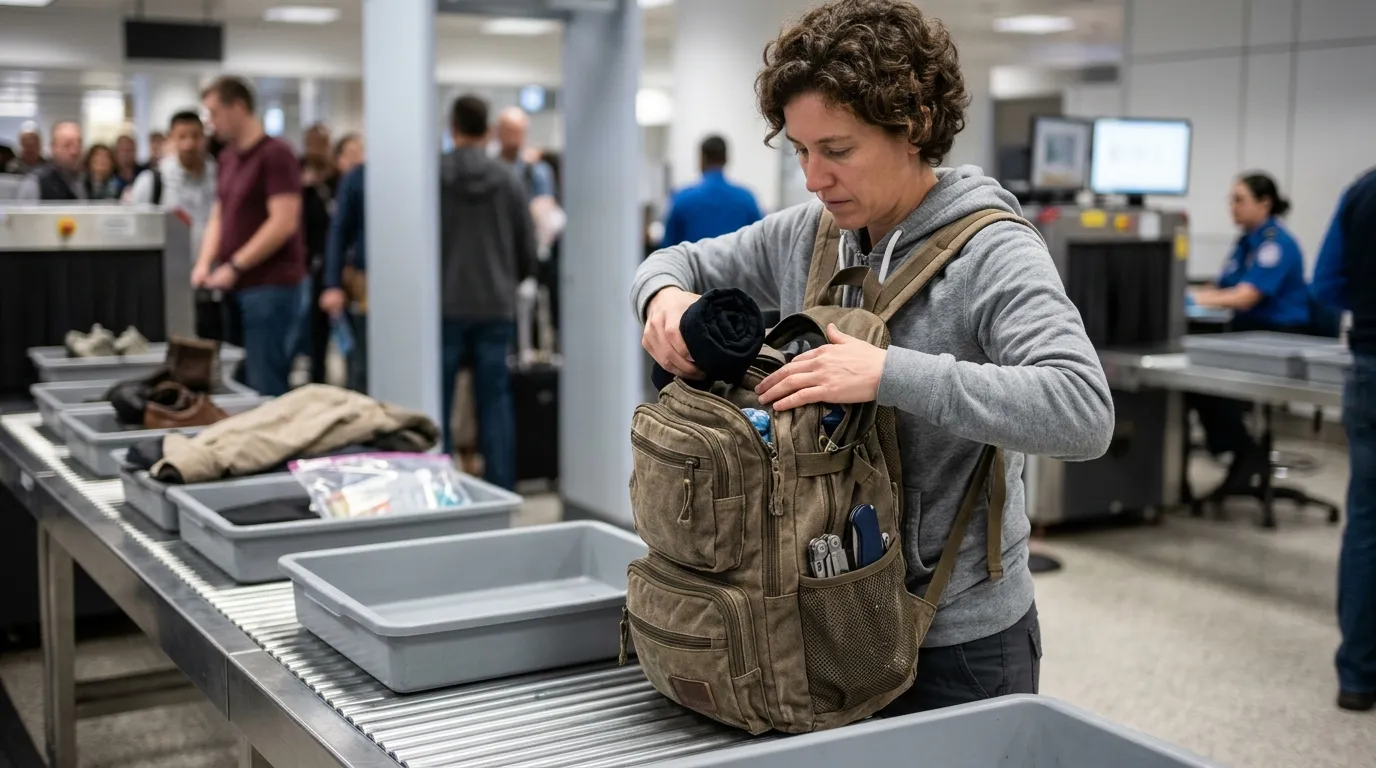
Last trip’s leftovers love to hide in side pockets: a pocketknife, an oversized bottle, a multi-tool. Pack on top of them, and they surface at the X-ray, where the bag gets pulled for a hand search.
Start every trip with a completely empty bag, checking every pocket and compartment. It is a quick reset that spares you a stop at the checkpoint.
#9 – Leaving Snacks and Powders Mixed Into the Bag
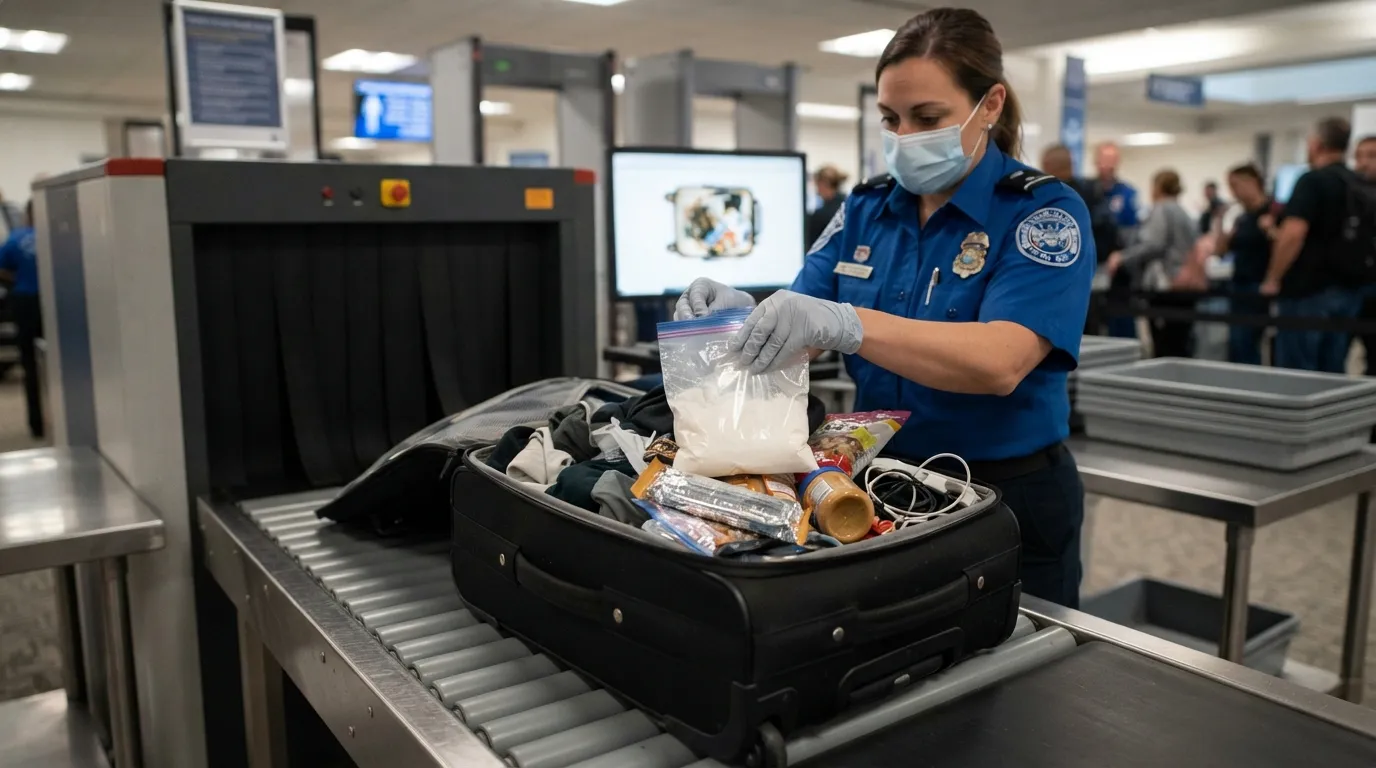
Dense food items and powders can cloud the X-ray image, and officers may ask for them to be pulled out and screened separately. Suddenly your bag is stopped mid-belt.
Pack snacks and powders in one easy-to-reach spot so you can pull them out fast if asked. A tidy bag gives the X-ray a clear view and keeps the belt moving.
#8 – Scrolling Your Phone Right Through the Instructions
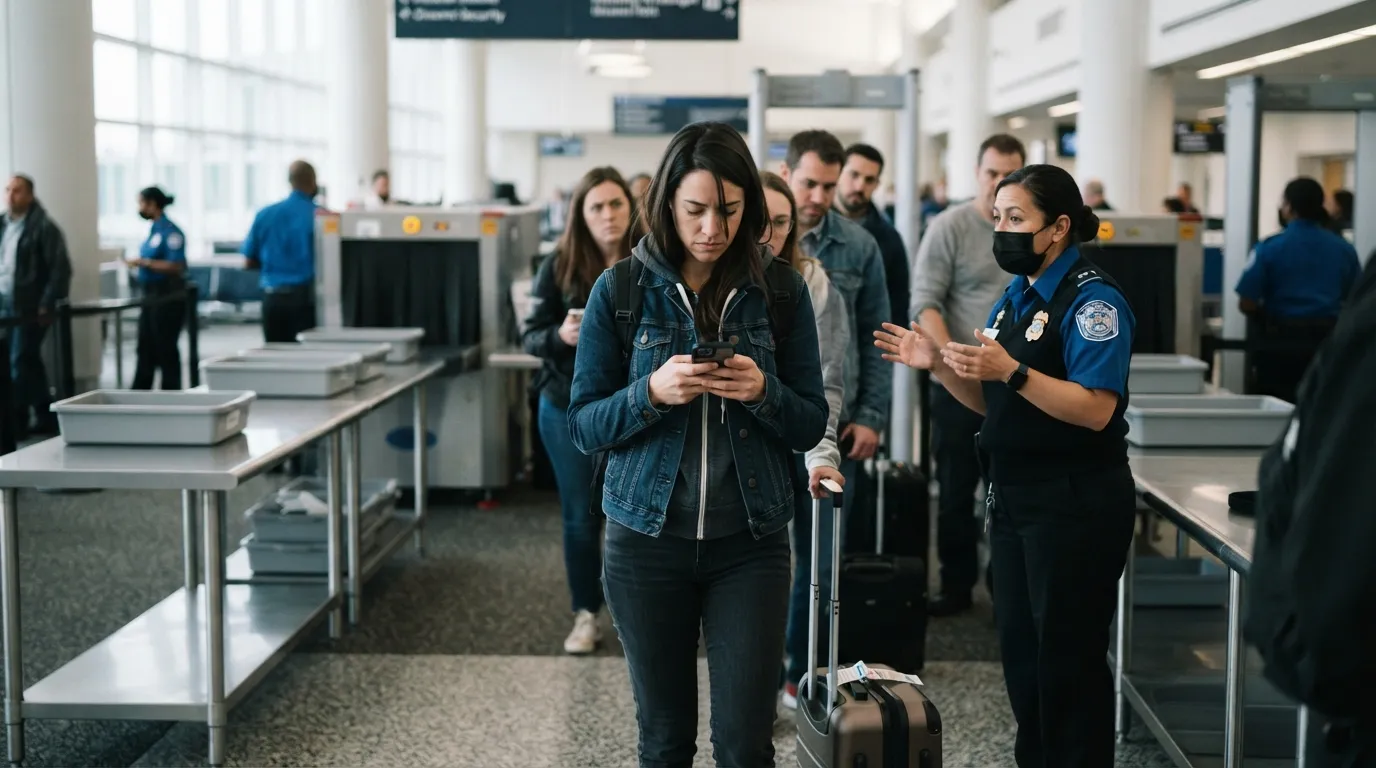
Eyes on the screen mean ears and eyes off the officers. Bin instructions, lane changes, and step-this-way directions have to be repeated, and each repeat slows the line.
Put your phone away while you wait, and keep it in your bag until you are through. Procedures vary by airport, so listening beats assuming this checkpoint works like your last one.
#7 – Assuming an Item Is Allowed Without Checking First
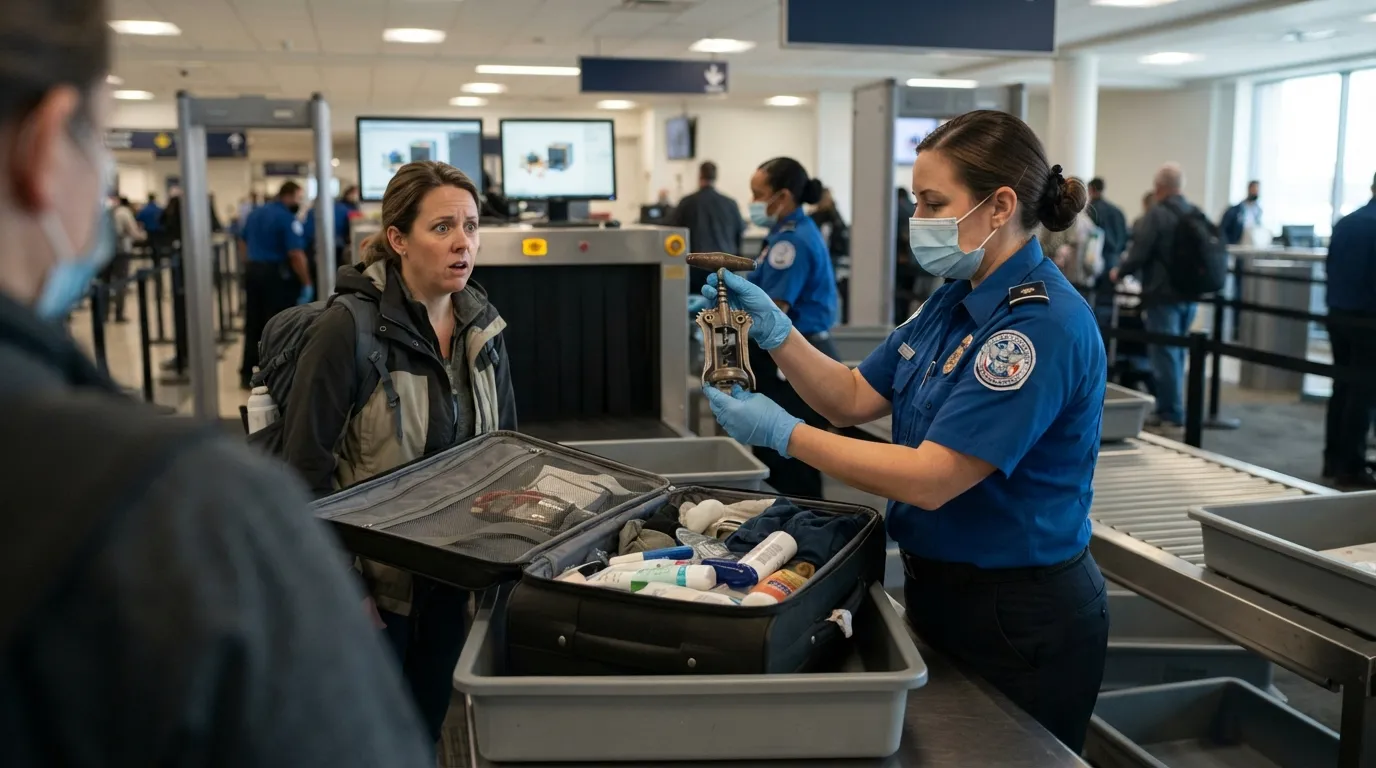
That favorite snack, tool, or souvenir might be fine, or it might not. When it is not, the bag gets pulled and the traveler is left deciding on the spot what to do with it.
Use the What Can I Bring? tool on the TSA website or in the MyTSA app for anything you are unsure about. Type in the item, see whether it goes in carry-on, checked, or neither, and pack accordingly.
#6 – Arriving With an ID You Haven’t Checked for REAL ID
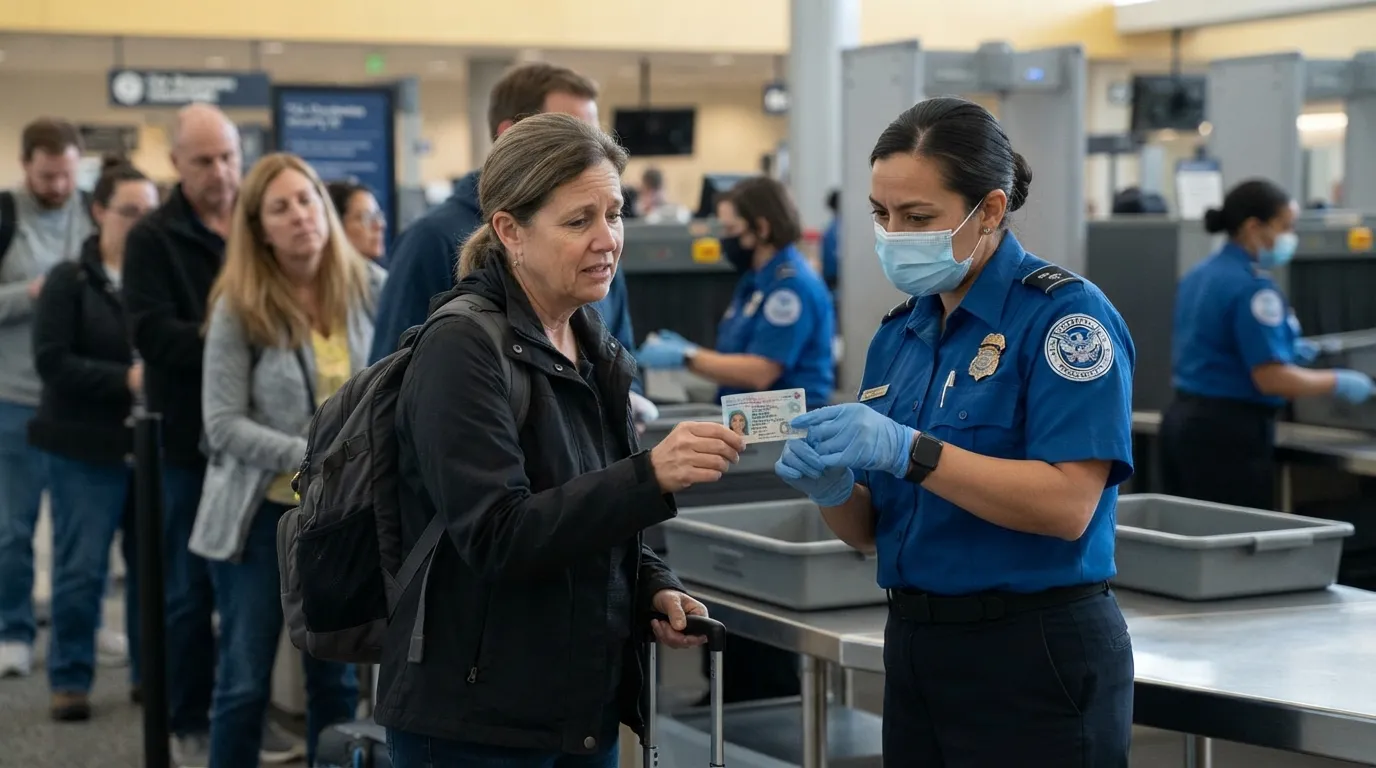
A driver’s license that is not REAL ID compliant can lead to extra identity verification at the document check, or may not be accepted. Either way, the traveler stalls at the front of the line.
Look at your card ahead of time to confirm it is REAL ID compliant, which is usually shown by a star marking. If it is not, bring a passport or another acceptable ID, and check the TSA site for the current list.
At a Glance
- Check: look for the star marking on your license or ID card.
- No star? Bring a passport or another acceptable ID.
- Not sure? The TSA site has the current list of accepted IDs.
- Timing: check weeks before your trip, not at the airport curb.
#5 – Forgetting the Small Stuff in Jacket and Back Pockets
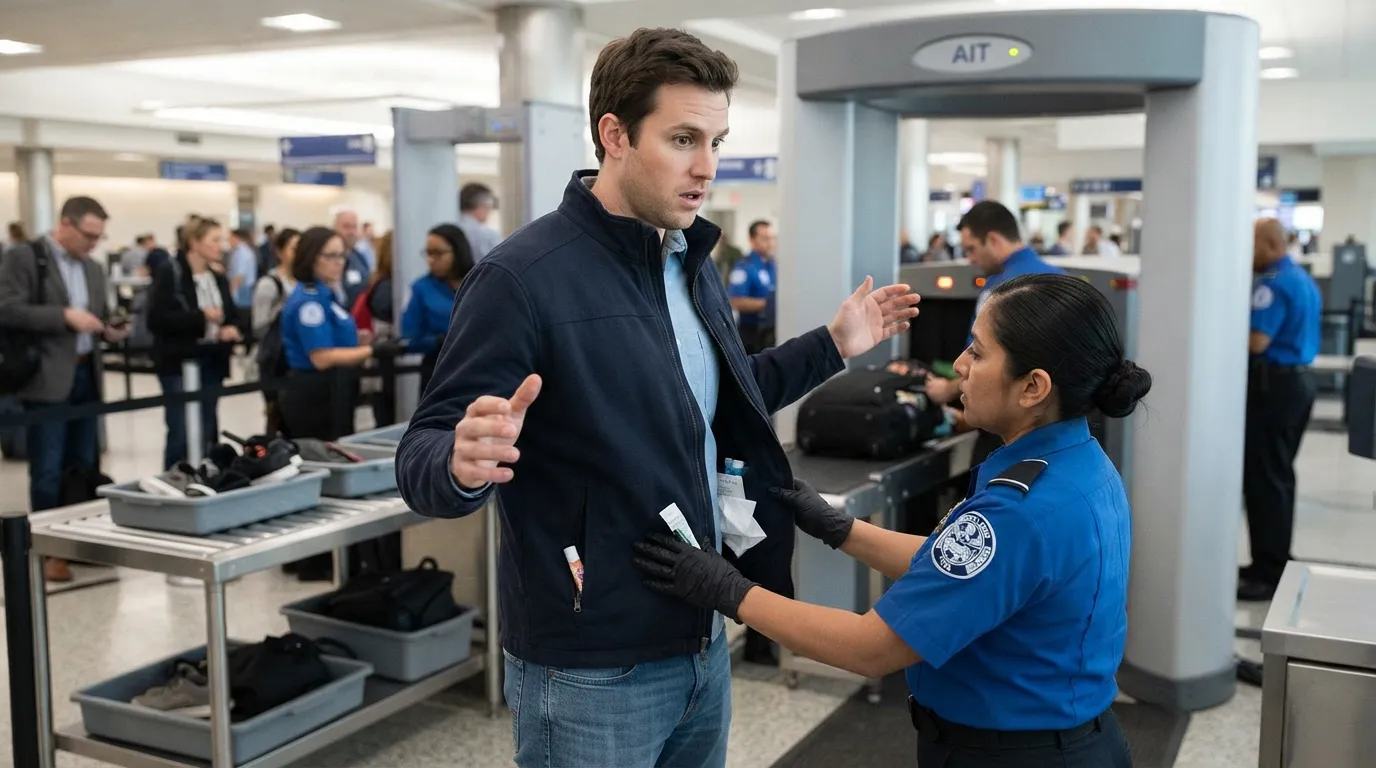
Keys and phone are out, but a lip balm, receipt, or tissue is still in your jacket or back pocket. Body scanners can flag any anomaly, including non-metal items, and that can mean a pat-down.
Do one last sweep before you step up: front pockets, back pockets, and every jacket pocket. That last check can save you a secondary screening and save everyone behind you the wait.
#4 – Forgetting a Pocketknife or Multi-Tool in the Bag
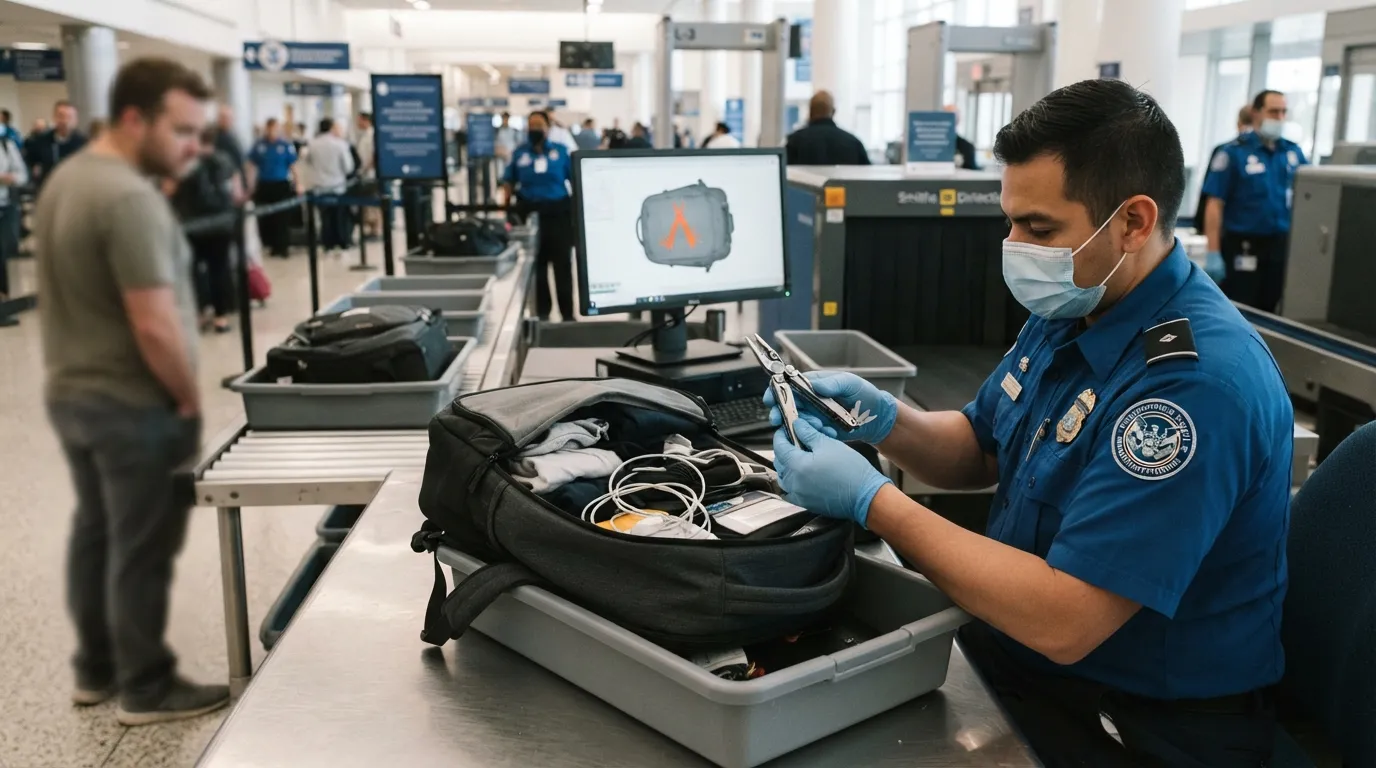
A pocketknife or multi-tool left over from camping, work, or a weekend project can stop your bag in its tracks. Officers have to pull it, find the item, and decide what happens next, while the belt backs up.
Empty every compartment the night before you travel, including side pockets and the hidden ones. Pocketknives and similar tools generally need to go in checked luggage, not your carry-on.
#3 – Skipping TSA PreCheck When You Would Qualify
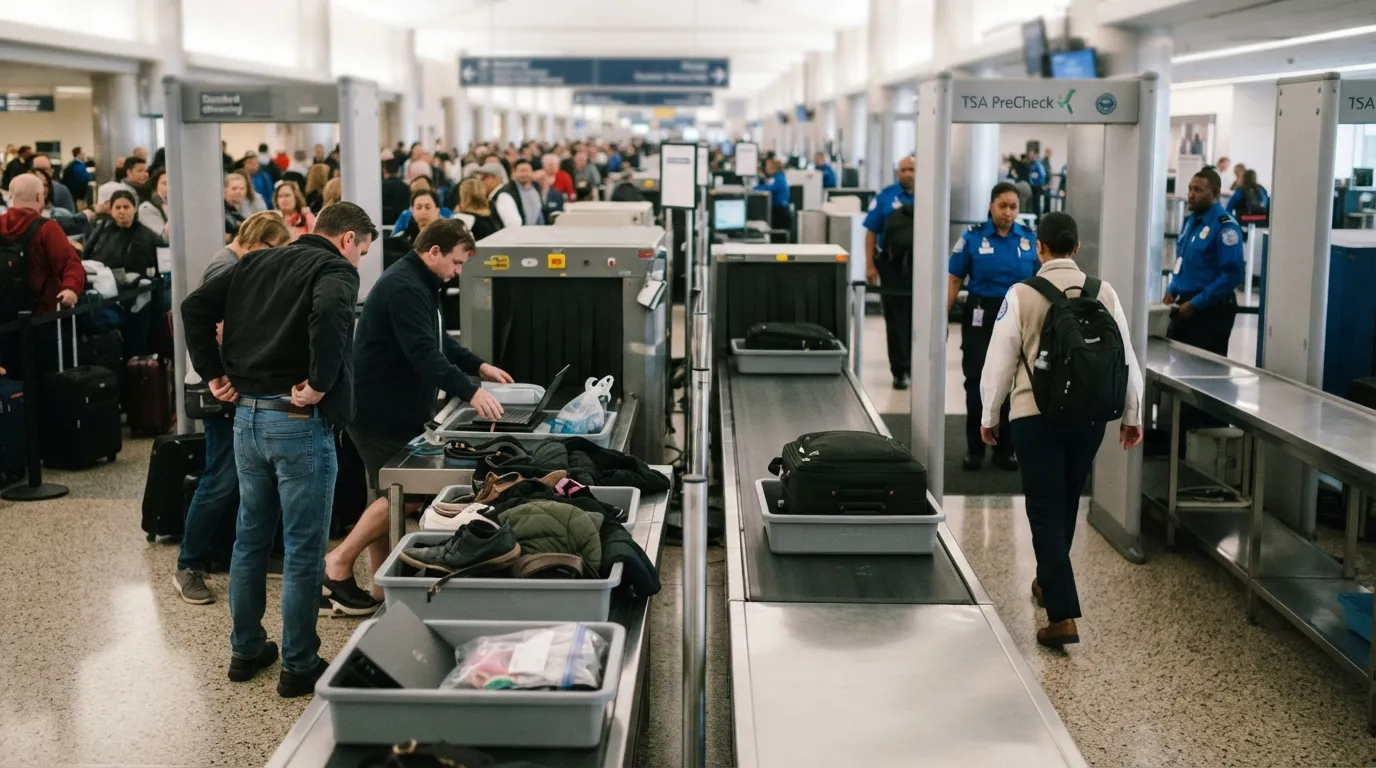
Standard lanes mean the full routine for every traveler: shoes off, laptop out, belt off, liquids bag out. Each of those steps takes a moment, and moments pile up when the line is long.
TSA PreCheck members can generally keep shoes, belts, and light jackets on, and leave laptops and liquids in the bag. If you fly often enough to benefit, check whether you are eligible on the TSA site, since even occasional travelers may find it helps on busy days.
Quick Compare
- Standard lane: shoes, belt, and bulky jacket usually come off.
- PreCheck lane: shoes, belt, and light jacket can generally stay on.
- Standard lane: laptop and liquids bag typically come out of the carry-on.
- PreCheck lane: both can generally stay in the bag.
#2 – Arriving With Barely Enough Time and Rushing the Checkpoint
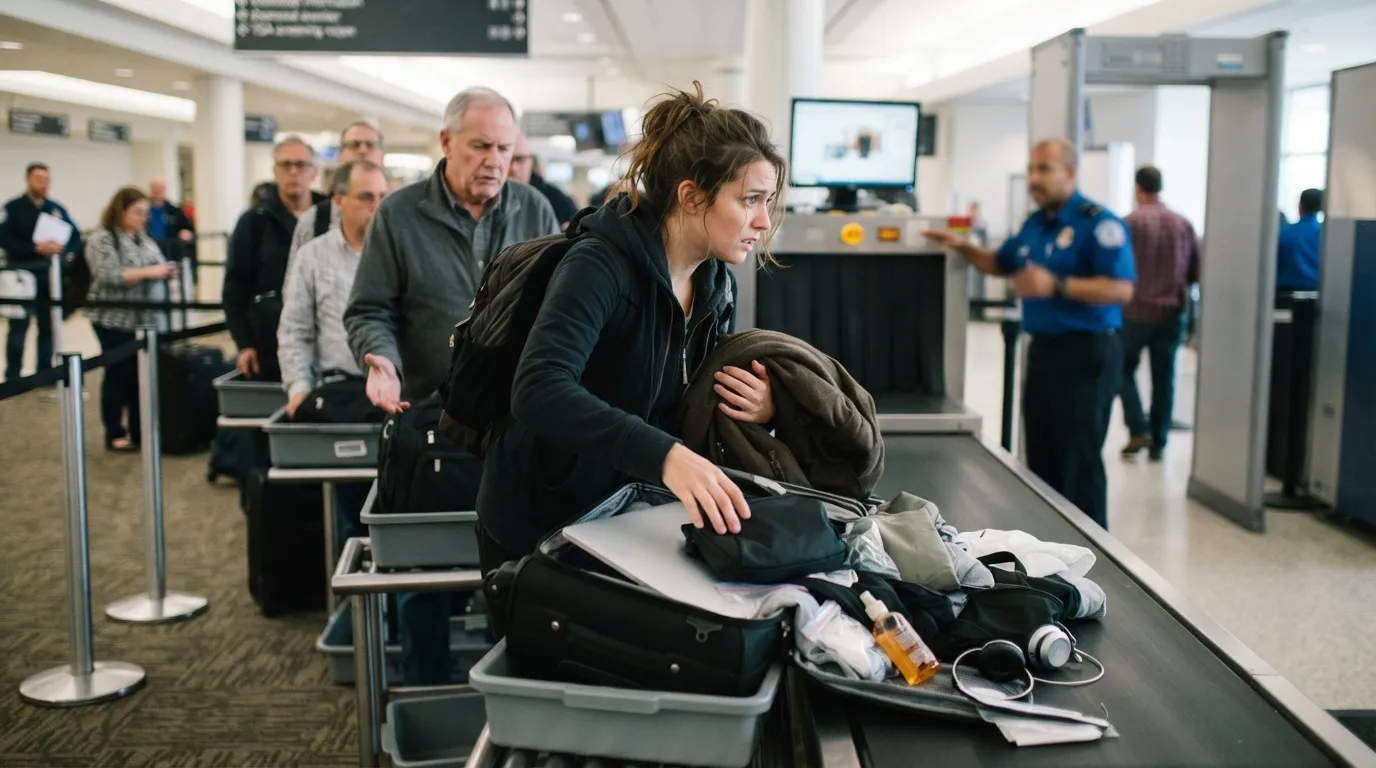
A traveler who is running late rushes the routine: bag half-zipped, ID somewhere in a pocket, liquids forgotten. Rushed packing creates mistakes, and mistakes at the belt slow everyone.
Give yourself a cushion. Many airlines and airports suggest about two hours before a domestic flight and three for international, and checkpoint wait times vary by airport and time of day. A calm start makes every other item on this list easier.
#1 – Debating or Missing Officer Directions in Real Time
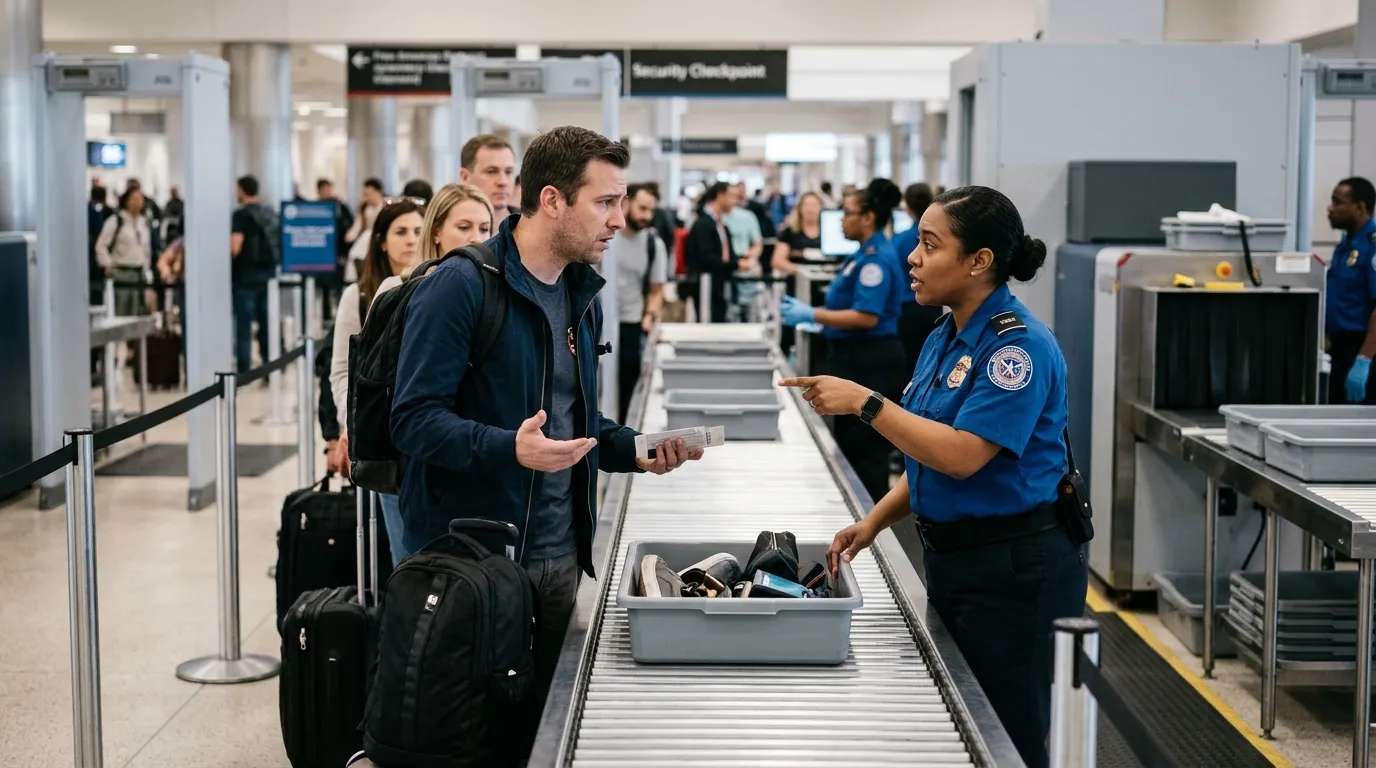
At the top of the list is the moment officer directions get questioned or missed. Bins, lanes, shoes, and removal steps all come with instructions, and a pause at the front stalls everyone behind.
Stay alert, follow directions right away, and ask a clarifying question if something is unclear. Officers adjust to real-time conditions that differ by airport and equipment, so what worked at your last checkpoint may not apply today.
Almost everything on this list comes down to one thing: getting ready before you reach the belt. Empty the bag at home, check the rules with the What Can I Bring? tool, and keep your ID in hand.
The best checkpoint experience is the one nobody behind you remembers. Did we miss one? Drop it in the comments.
CEO-Co-Founder